 I did have to buy a pen turning mandrel and i would highly recommend the Rotur Pen Mandrel Kit, comes with all you need including a 7mm drill bit, barrel trimmer and adjustable mandrel for doing all lengths of pens.
Anyway that's just my opinion on pen mandrels...
 I didn't exactly know what sort of pens i wanted to make but nearly all the wood turning shops sold the classic 2 piece twist pen kits so i went with them and bought about 10 kits at €2.50 each, they were gold coloured pieces and looked nice enough in the packets anyway :D
  I also bought a load of pen blanks, these ranged in price from €1 to €2.50 each depending on the wood, i have since seen 5 ebony blanks for €25 in McQuillans so pretty expensive at €5 each, you wouldn't want to be destroying too many of them while making them.
 Anyway with each of the blanks i drew a line down one side, not touching either edge. i then cut them in half and this then means that if i put them down or anything then when i picked them up i could easy realign them to keep the grain running in the same direction.

Once the glue is dry (about 2 hours to be safe) you place the two half pen blanks onto your mandrel with the narrow separators at the beginning middle and end. these give you a reference as to the diameter you're looking for in each end of the pen to be flush with the pen kit. i then screwed on the nut at the end and slid up the tail stock into a dimple in the end of the mandrel to provide ample support while turning.
While turning my pens i used only a skew chisel and got great results. Be careful with brittle woods though cause once you drill out the centre initially you seen to take away a lot of the structure of it and it can be very easy to take out a big chunk of the blank and then you're just left with the barrel!! :D
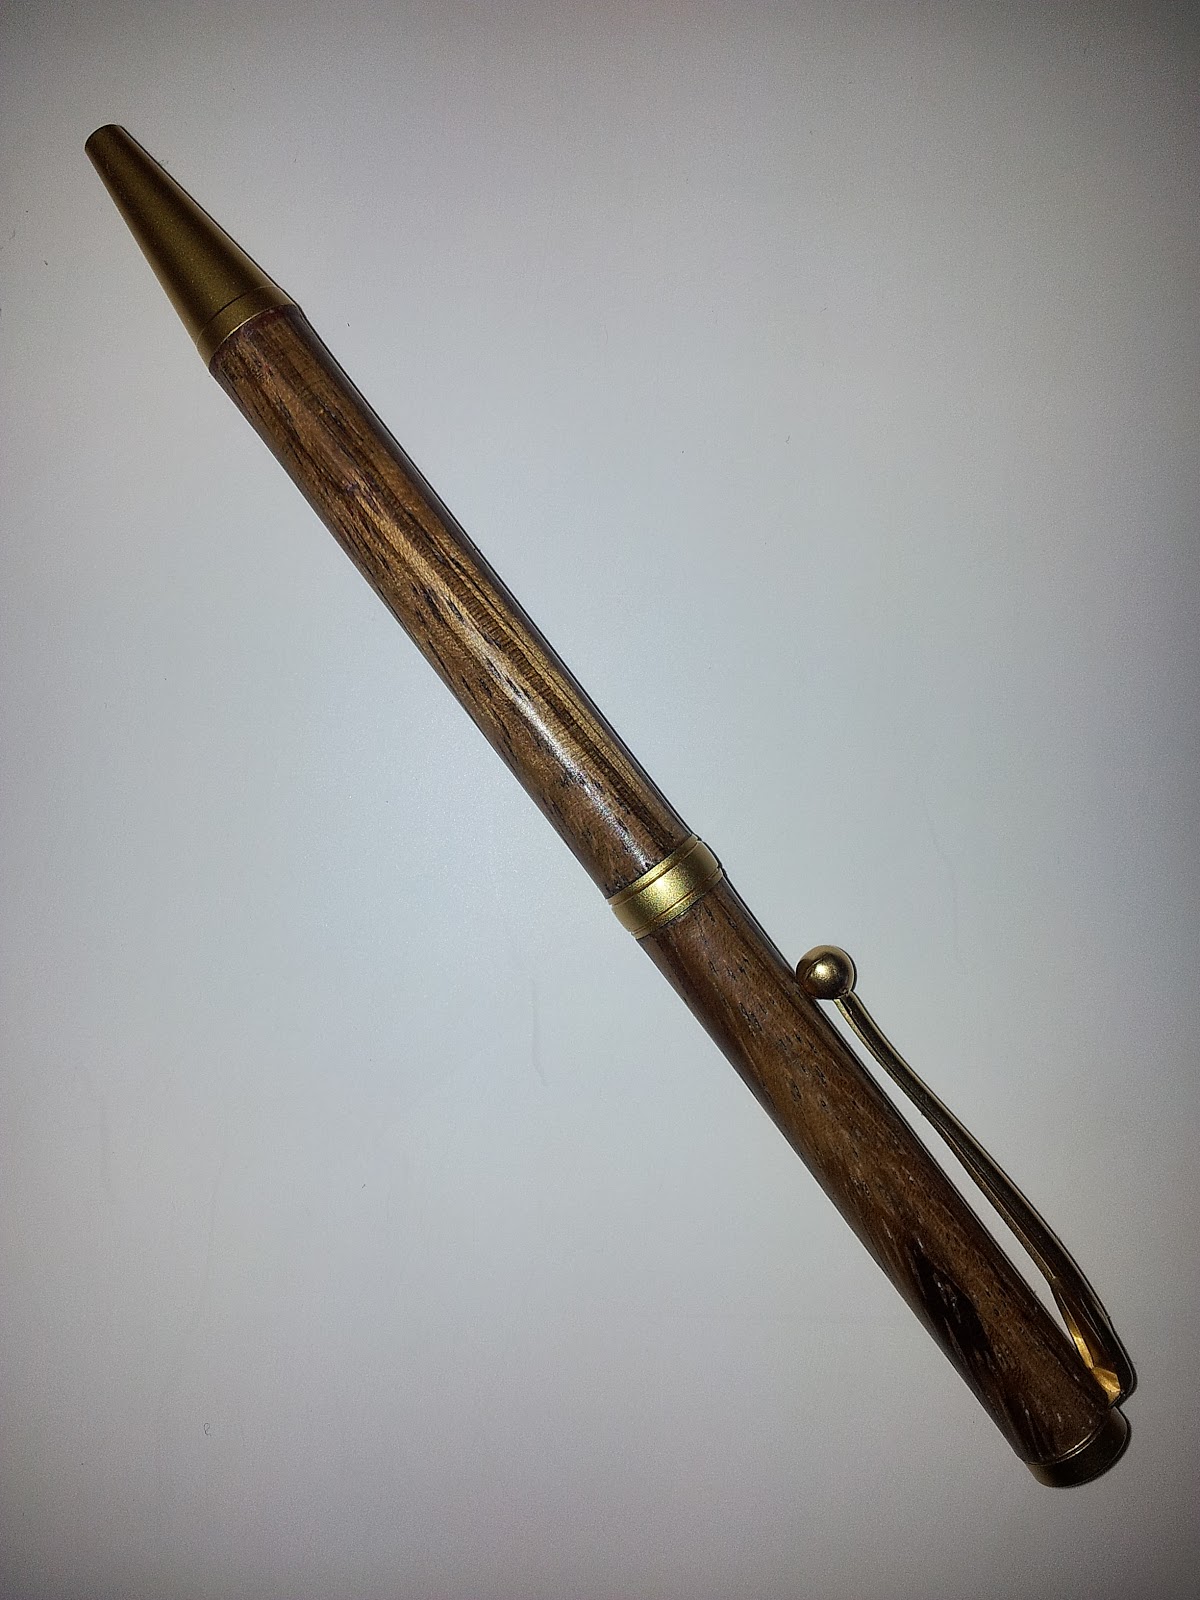
Once you're happy with your pen its as simple as sanding them while still on the mandrel, i sanded these right up to 800 grit and finished with sanding sealer and an array of finishes, from friction polish, normal polish, Mylads Traditional Way, chestnut wood dye, and burnishing cream for the one acrylic pen i done. Here are some pictures of some of the pens i made from wenge, zebrano, walnut, beech:


No comments:
Post a Comment